Sliding barn doors are stylish, space-saving, and easy to use — but only if they fit perfectly. Measuring your space before buying or installing a barn door is the key to getting that smooth slide and snug closure. Whether you’re a DIY fan or calling in a handyman, this guide will help you measure like a pro.
1. Why Measuring Matters
-
Before you start, remember: a sliding barn door sits on top of the wall, not inside it like a regular door. That means it needs more wall space for the door to slide open completely.
A wrong measurement can cause gaps, scraping, or a door that won’t close properly — all of which are easy to avoid if you follow the right steps.
2. Tools You’ll Need
To get started, grab these basic tools:
- Tape measure
- Pencil
- Level
- Notepad
- Step stool (if needed)
3. Step 1: Measure the Door Opening
Use your tape measure to note:
- Width: Measure the width of your doorway from side to side.
- Height: Measure from the floor to the top of the doorway.
- Check for level: Use a level to make sure your floor and top edge are straight.
Pro tip: Take measurements in three spots (top, middle, and bottom). Use the largest number to make sure the door covers everything evenly.
4. Step 2: Decide on Door Size
Now that you know your opening size:
- Add at least 2 inches to the width of the door opening so the door overlaps the frame for privacy and a clean look.
- Keep the height about 1 inch above the floor to avoid scraping.
For example:
If your doorway is 36″ wide × 84″ tall, your barn door should be 38″ wide × 85″ tall.
5. Step 3: Measure Wall Space for Sliding
Your wall must have enough open space beside the doorway so the barn door can slide completely open.
That means:
- Wall space = Door width × 1.5 (at least)
Make sure there are no light switches, outlets, or decorations blocking the slide path.
6. Step 4: Find Studs for Mounting
Use a stud finder to locate wall studs above the door. The track system (hardware) needs to be screwed into these studs to support the door’s weight safely.
If you can’t find studs where you need them, you’ll have to use a mounting board for extra support.
7. Step 5: Measure Track Length and Hardware Clearance
- The track length should be twice the door width so the door can slide fully open.
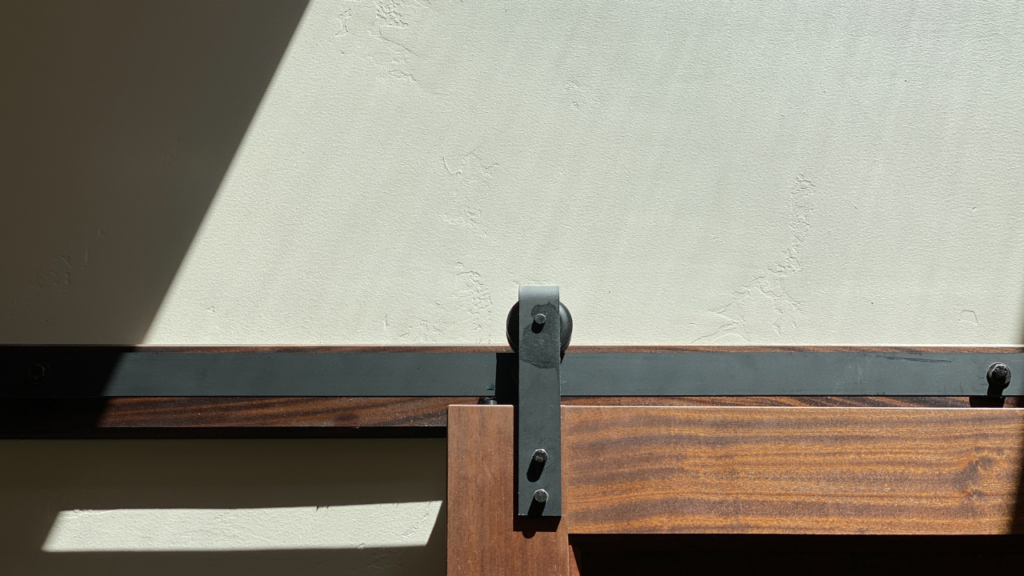
- Leave 6 inches of clearance above the door for the rollers and track hardware.
- Also, check that there’s enough space between the door and wall to clear trim or handles.
8. Step 6: Check Floor and Trim
- If your doorway has thick trim or baseboards, you’ll need to measure from the outer edge of the trim.
Also, make sure your floor is level. If not, note the difference — you may need to make small adjustments during installation.
9. Choosing the Right Barn Door Style
- Not all barn doors are the same. The style and material can affect both how you measure and how it hangs.
- Solid wood doors are heavier and may need stronger mounting hardware or extra studs.
- Hollow-core or composite doors are lighter and easier to install but less soundproof.
- Glass barn doors need special hardware to hold their weight safely.
- When measuring, always consider the door’s weight and thickness. These can change how far the track sits from the wall and how much space you need for clearance.

10. DIY vs Professional Installation
- Installing a barn door can seem simple, but getting perfect alignment is tricky.
- DIY Installation: Great if you’re comfortable with tools, leveling, and measuring.
- Professional Help: Recommended if your wall has uneven surfaces, electrical switches, or you want a flawless finish.
A pro can handle everything — from mounting the track to ensuring the door glides smoothly.
At Mountain View Handyman Services, our experts install sliding barn doors for homes across Greater Chattanooga, ensuring a perfect fit and smooth operation every time.
Call (423) 556-8634 or email mountainviewhandymanservices@gmail.com to get professional help with your door installation today.
11. Common Mistakes to Avoid
- Forgetting to measure wall clearance
- Not checking for studs before mounting
- Skipping height clearance for hardware
- Buying the door before confirming measurements
- Ignoring floor level differences
12. Final Check
Once you have all your numbers, write them down clearly.
It helps to have:
- Doorway width
- Doorway height
- Door size (width + 2”, height + 1”)
- Wall clearance
- Track length
- Stud spacing
This checklist ensures you buy the right door and hardware the first time.
13. Final Thoughts
Measuring for a sliding barn door isn’t hard once you know what to look for. With a few tools and careful measuring, you can get a perfect fit and add a beautiful accent to your home. Whether you’re updating your living room, bedroom, or pantry — precision is the key to a great result.
If you ever feel unsure or need a helping hand, Mountain View Handyman Services is just a call away — ready to make your barn door project simple, safe, and stunning.

Glen Anderson
Glen Anderson, founder of Mountain View Handyman Services, brings over 20 years of trusted home repair and maintenance experience to Chattanooga homeowners


